A Quartz Cell, a Beatnik, and a Hippie Walk Into a Bar
/Ok so I don’t have a joke, but at least I have a picture. You can use a quartz cell for so many things but who knew cuvettes could play the bongos? By the way this cuvette’s name is Bongo Dean and feel free to book him for your next event.

Bam bam bam, cuvettes.... can you dig it man?
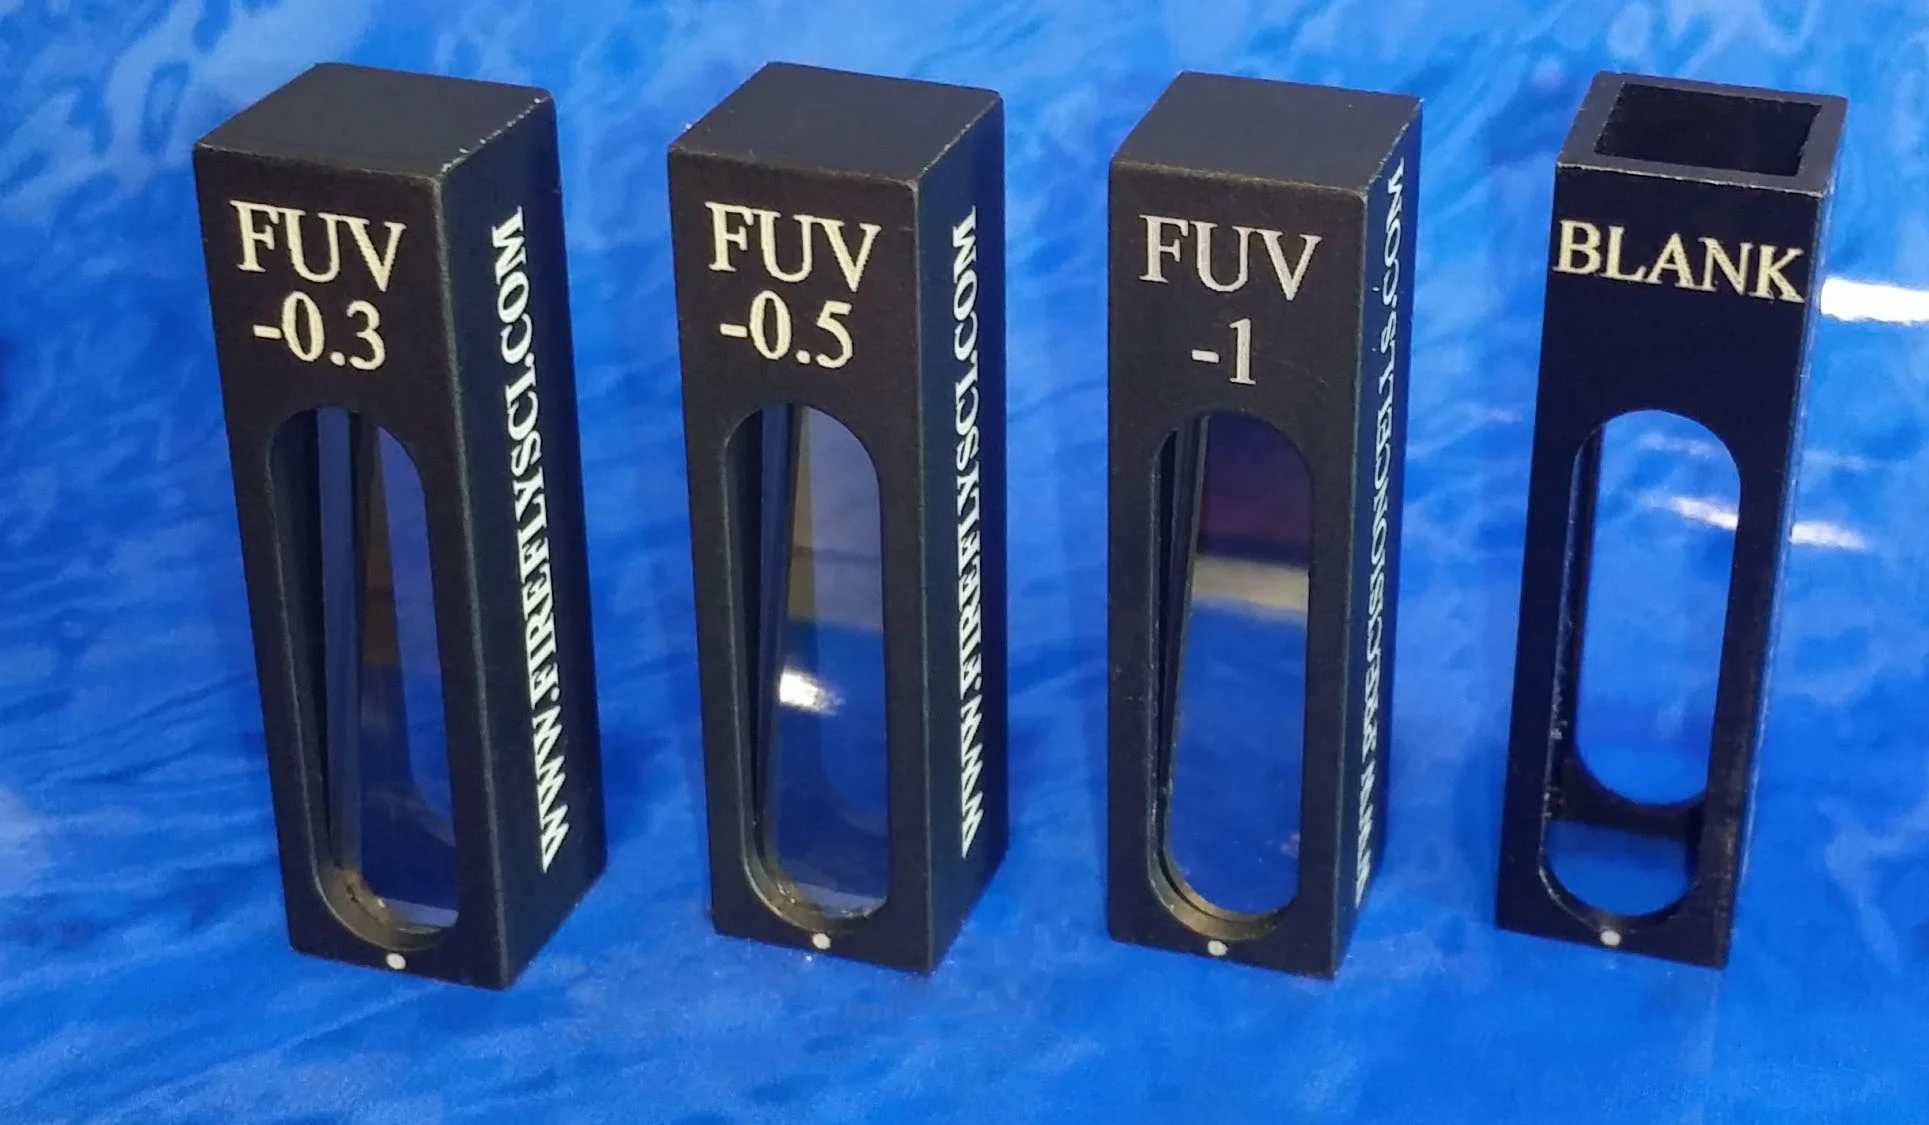
Quartz Cell Manufacturing
Anyway, now that I got that out of my system we can move on to the quartz cell article. In this article, I would like to go over some of our manufacturing capabilities. When designing a quartz cuvette many questions may come up if the design is possible. Using the guide below you’ll have a better idea of what we can definitely make and what might need to be reviewed.
Designing a Quartz Cell
When laying out a cuvette design, it’s a good idea to know some details in advance. Here is a list to get you started:
- The lightpath you need
- Inner dimensions
- Outer dimensions
- Dimensions for the cuvette height
- How many windows you need polished
- Type of cover – PTFE cover, PTFE stopper, Screw cap, other.
- Type of application. Is the cell going to be used for high pressure, cryogenic work, or dye laser work? The more details the better.
- Optional – Tolerances for the inner, outer, and height dimensions.
Quartz Cell Tolerances
The tolerance is how much “wiggle room” that we have when we make the cells. The standard tolerance on a 10 mm cuvette would be +/- 0.02 mm. This means that a cuvette with a lightpath of 9.98 – 10.02 would pass inspection. Now 0.02 mm is pretty small, but we can have even tighter tolerances, but that would be on a case by case basis. Keep in mind the stricter the tolerances, the lower the yield which translated into English means a higher price for you.
If tight tolerances is something you absolutely need, than by all means we are happy to accommodate. Usually though our standard tolerance is perfect and will save you a couple of bucks.
Cuvette Dimensions
A lot of our custom designs are based on simply modifying one of our standard 10 mm cells. Some people may want a taller cuvette, some people want two adjacent sides polished while the other two are frosted, and some people have no idea what they want.
Dimensionally we can make some very large cuvettes. We can make cuvettes up to 200 mm in length, width, and height, which can be used as a mini-fish tank when not being used for experiments. On the smaller side of things we can make flow cells with ultra-micro dimensions which range in the microns.
It’s hard to say the smallest sized basic cuvette that we make since there are a number of factors that come into play. But if I had to give a number, we make 0.05 mm light path cuvettes.
Quartz Cell Wall Thickness
Wall thickness is exactly what it sounds like. It is how thick the walls are on the cuvette. On a standard 10 mm light path cuvette the wall thickness is 1.25 mm. When calculating your wall thickness make sure you multiply the wall thickness by 2 or else the sketch will be off.
For example, Type 1 – 10 mm has a lightpath of 10 mm, so what are the outside dimensions? Don’t make the mistake of saying it’s 11.25.
Here is how it works:
1.25 x 2 + 10 = 12.5
The maximum wall thickness we can make is 5 mm thick.
The minimum wall thickness is 0.5 mm. Anything thinner than this will shatter when you breathe on it.
Bonding Techniques
Bonding is how we assemble the quartz cell. There are a number of different bonding methods and of course each has its positives and negatives. Here is the list:
Glass frit – This is the cheapest bonding method available. This utilizes a glass powder which is melted at high heat. When the frit is hot if you press another piece of glass onto it, it will be glued in place. The downside to this method is that certain chemicals can eat away at the glass frit. This can make the cuvette fall apart and/or leak.
Fire Fusing – This is a step up and does not use any frits or powders. How fire fusing works is you start with two polished pieces of quartz or glass. You put them in a metal jig that holds them in place and then you apply a hydrogen-oxygen torch to where the edges meet. What happens is the quartz slightly melts on both plates and they merge together when they are cooled. It’s the same principal when you melt the ends of two sticks of butter and push them together and then put them in the freezer. This is great because there are not frits that can dissolve from tough chemicals making this bonding much better. The downside to this fusing is the high heat can warp the quartz cell.
Thermal Fusion – Thermal fusion is similar to fire fusing since it doesn’t use any frits. Also this type of bonding is done at high heat as well melting the quartz and cooling it to form the bond. This type of fusing is great when you need to fused thick walls together. It also has less distortion than fire fusing.
Optical Contact Bonding – This is the best type of bonding and is done with a chemical bond. This type of bonding has the tightest tolerances and the highest yield. The only downside is that it is the most expensive.
Polishing a Quarz Cuvette
There’s not much to write about polishing. Pretty much we can polish any shape and size of glass. We use the best lapping machines and polishing powders available to ensure that the surface flatness is maintained. Our standard surface flatness is lambda/2.
So there you have it! If you have any questions please leave them in the comments below or send us an e-mail, info@fireflysci.com.
Here’s to your success!
Simcha Woitovich