How To Calibrate a Spectrophotometer - Part 1
/Hi everyone,

In this article, we’re going to go over the step-by-step instructions on how to calibrate a spectrophotometer. This procedure is very easy when you have the right tools to work with. A few things we’re going to need to get started is the following:
- Manual for the spectrophotometer
- NIST spectrophotometer calibration standards
- Certificate of calibration that came with the calibration standards
- Powder free gloves – gloves must be worn when handling spectrophotometer calibration standards to prevent damage to the filters.
- And of course, your spectrophotometer
- Optional: Software that came with the spectrophotometer
How to calibrate a spectrophotometer – UV and VIS Photometric Accuracy
Photometric accuracy confirms that the absorption data is correct at selected wavelengths. Now photometric accuracy can be tested in the UV, Visible (VIS) and NIR ranges. Since all spectrophotometers are different, for example some only work in the VIS range, the wavelengths that need to be tested will be found in your spectrophotometers owner manual.
The owner’s manual will have a range of wavelengths that need to be tested to ensure your spectrophotometer is working at its peak perform throughout its working range. Now let’s get into how to perform a photometric accuracy scan.
A scan can be done with the spectrophotometer controls or if your spectrophotometer came with software, then it’s easiest and fastest to use the software.
How to calibrate a spectrophotometer – UV and VIS Photometric Accuracy Step-by-step
- Warm up the spectrophotometer for 45 minutes.
- Select the wavelength to calibrate. Example, 465 nm.
- Depending on what type of filter you are using will determine if you need a dedicated blank for the machine. Either way, if your standard came with a blank insert it at this time, if there is no blank leave the cuvette holder empty and close the lid.
- Zero the spectrophotometer so the display shows all zeros.
- Remove the blank (if you used one).
- Insert the NIST calibration standard and close the cover.
- Record the reading and compare it to the data on the certificate of calibration.
If the data matches, then you’re done! If the data does not match there are some troubleshooting tips to help you out.
Photometric Accuracy Troubleshooting
It stinks when the data doesn’t match, but fear not usually it’s an easy fix.
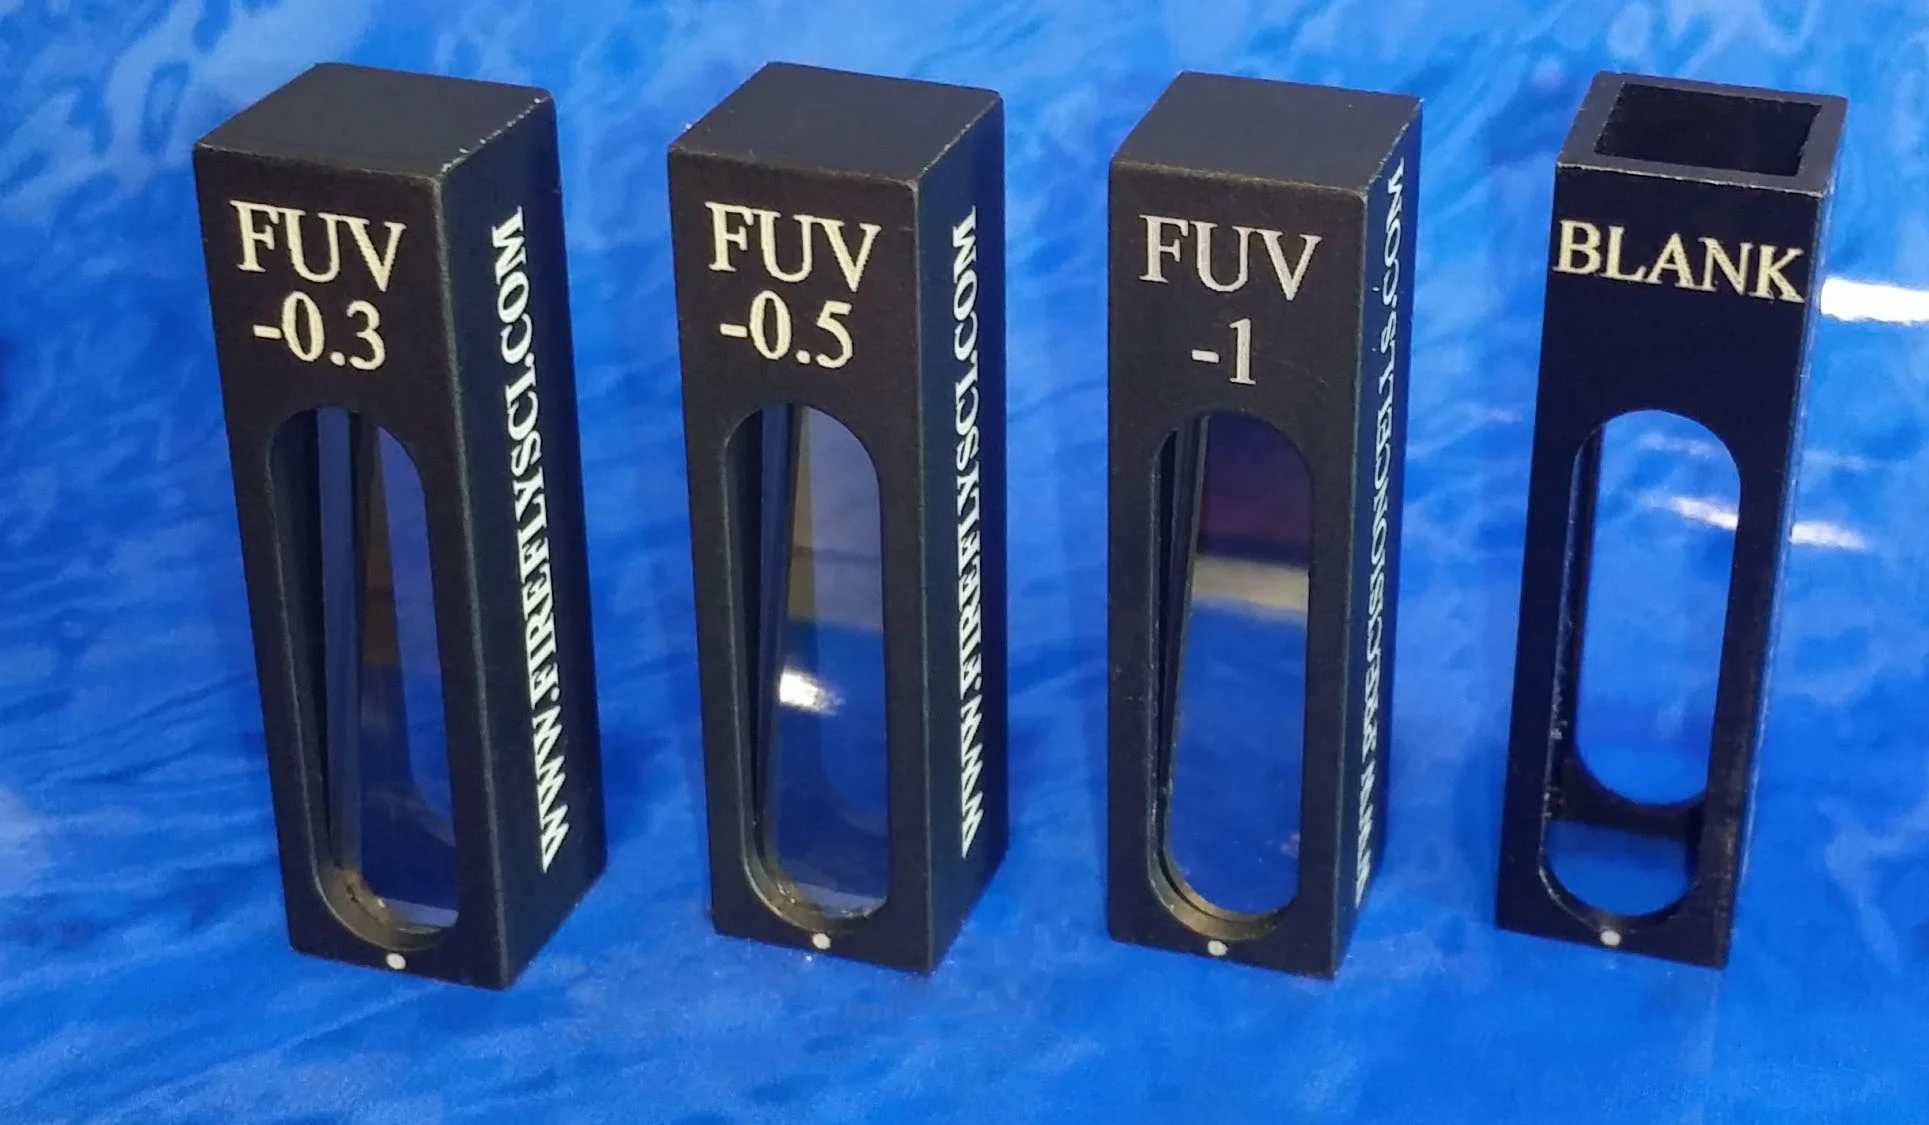
- Check the uncertainty of the calibration standard. This can be found on the Certificate of Calibration. Our filters have an uncertainty of +/-0.0023.
- If the machine is still out of spec, check the owner’s manual for the photometric accuracy tolerance. If this information is not in the manual then call the spectrophotometer manufacturer. Add this tolerance to the filters to get the extended tolerance.
- If the numbers still don’t match, then either the spectrophotometer or the calibration standards are the problem. If possible, try the standard on another spectrophotometer to see if it is working properly.
If the standard doesn’t work on a different machine, there is a good chance that you found the problem. The NIST calibration filter may need cleaning or re-calibration.
In this How to Calibrate a spectrophotometer we only focused on photometric accuracy, but there is much more to cover. So stay tuned for the rest of the series!
Here’s to your success!
The FireflySci Team